If you’re looking to upgrade your truck bed, and you want something a bit more durable than wood, then plywood is the perfect choice. Plywood is strong, lightweight, and easy to work with. It can also be used to create a custom bed for your truck that will look great and last for years.
Making a plywood bed for your truck requires some basic tools and materials. You’ll need plywood in the size you need (or larger), screws or nails, saws (circular or hand), sandpaper, drill, sander, staples or carpet tape and any other materials needed for the project (e.g., wood glue). You will also need protective goggles and gloves for safety.
The first step is to measure the size of your truck bed and cut the plywood sheets accordingly. It’s important to make sure that the pieces fit together snugly without any gaps. If necessary, use a router or saw to trim off excess material.
Once all of the pieces are cut, sand them down with some coarse-grit sandpaper. This will help remove any rough edges as well as create a smooth surface for painting or staining later on.
Next, lay out all of the pieces on the floor in their final positions.
Make sure they fit together properly before moving on to attaching them together.
Attach: To attach the sheets together you can use screws or nails driven into pre-drilled holes in each piece of plywood. Wood glue can also be used if desired.
Finishing:
Once everything is attached together it’s time to finish up your plywood bed. You can stain or paint it with any color you like or even add a layer of carpeting or other material over top for added protection from wear and tear.
Conclusion:
Making a plywood bed for your truck is an easy project that will give you years of use and enjoyment if done correctly. With some basic tools and materials you can create a custom bed that looks great and will last through many adventures.
7 Related Question Answers Found
Whether you’re transporting a large piece of plywood for a home project, or you are a professional contractor hauling materials from one job site to another, knowing how to put plywood in a truck bed is essential. It’s important to make sure it is secure and safe in the back of your truck so it won’t move during your drive and cause an accident. With the right preparation, you can safely transport your plywood without any issues.
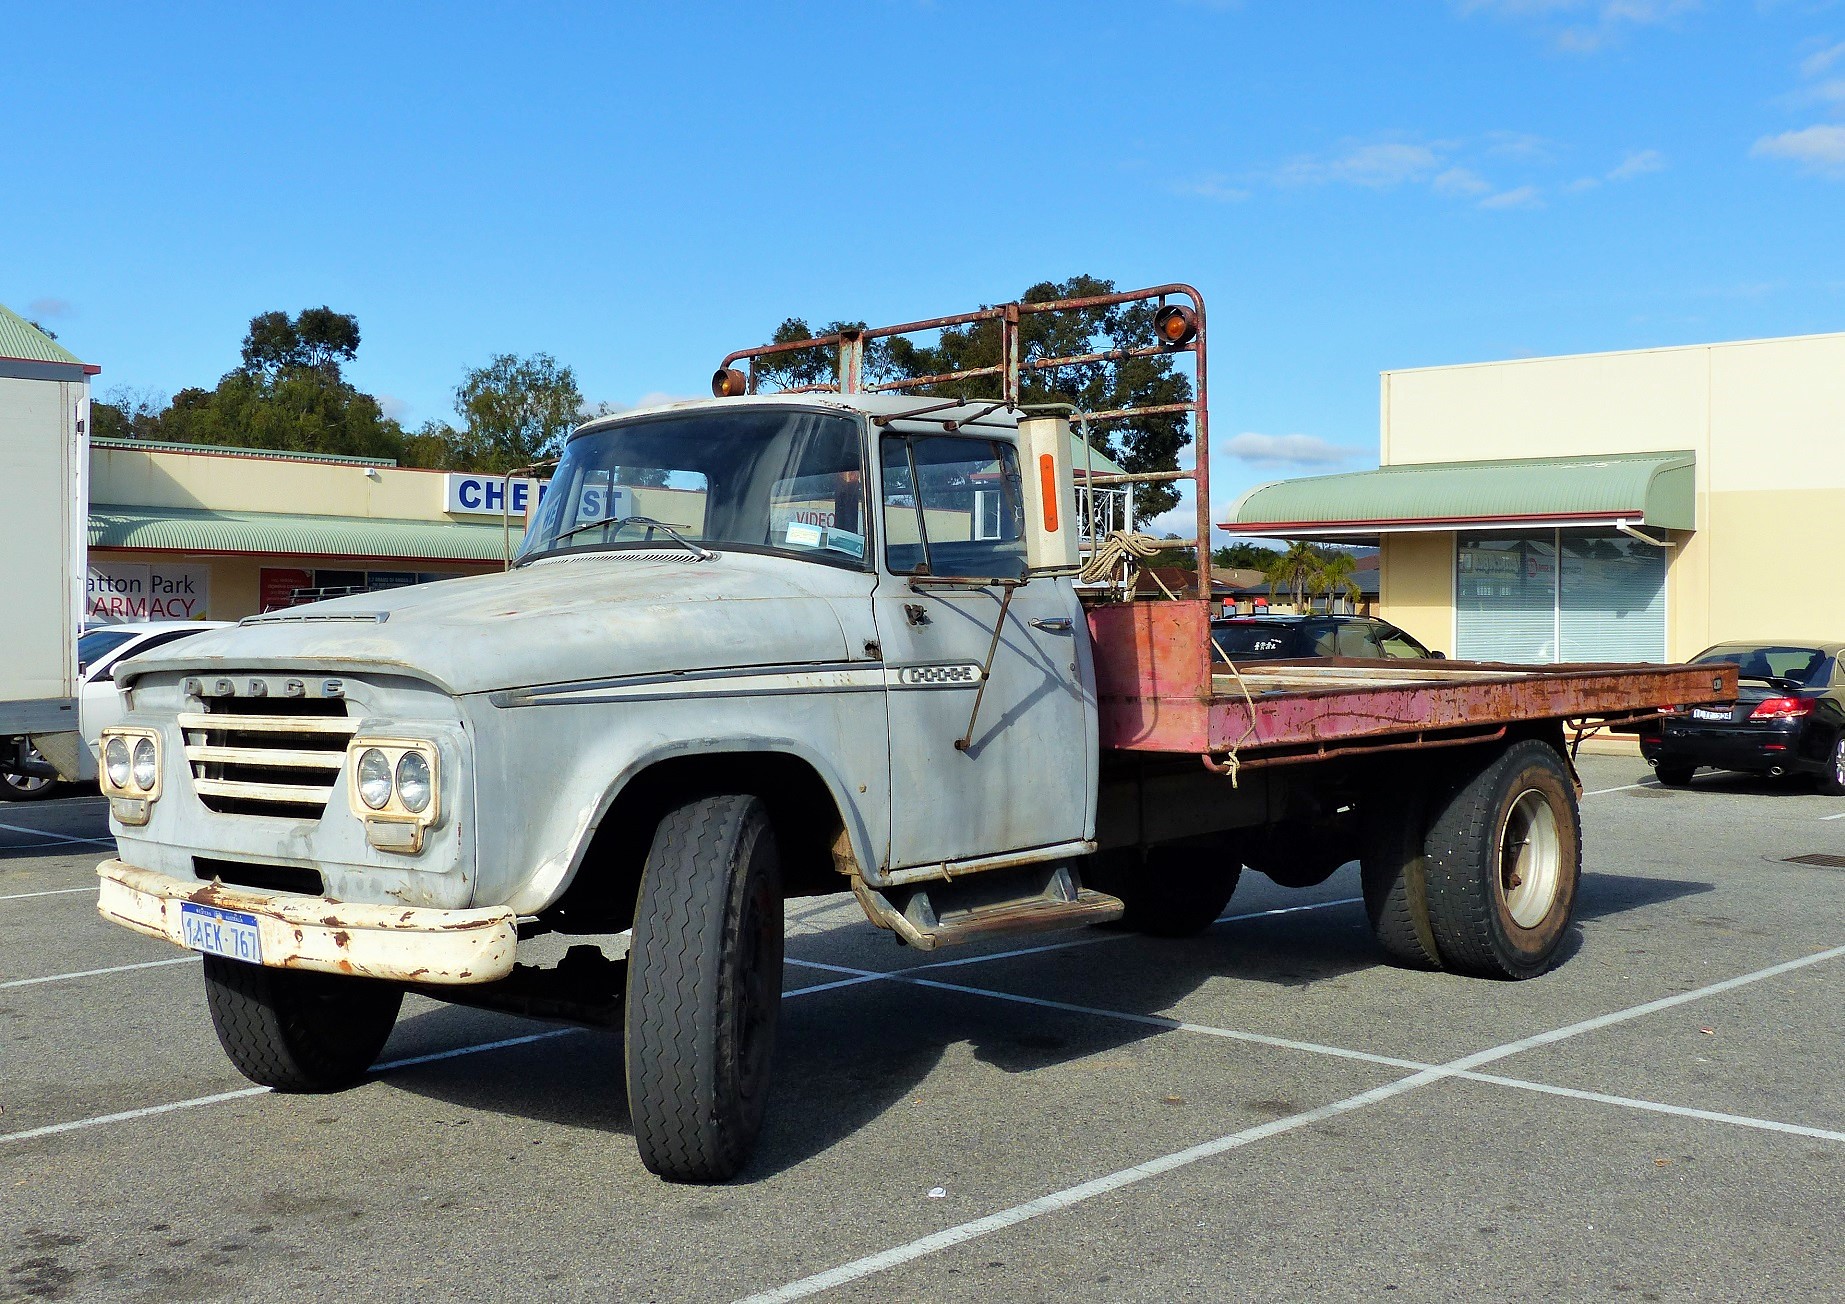
Building a flat bed for a truck is an easy and cost-effective way to customize any truck, giving it a unique look and feel. It also allows you to customize the bed’s size and shape to fit your needs. Before beginning any construction, you’ll need to make sure you have the proper materials.
Making a dump bed for a truck is an excellent way to maximize the utility of your vehicle. It can be used for many purposes, including hauling dirt, gravel, or other materials. With the right materials and tools, you can construct a dump bed for your truck in just a few hours.
Making a dump bed for a truck is a great way to increase the utility of your truck. Adding a dump bed can help you haul heavier loads and make tasks like landscaping easier. It can also be used to transport materials such as dirt, mulch, and rock.
Wood truck beds are a great way to transport items with ease. They provide protection from the elements, are resistant to corrosion, and are easy to install. However, attaching a wood bed to your truck can be tricky if you don’t know the correct steps.
Putting a utility bed on a truck is a great way to increase the utility of your vehicle and make it more versatile. It can be used to transport tools, materials, and other items that you need to get the job done. Utility beds come in many different sizes, shapes, and configurations, so it’s important to choose one that meets your specific needs.
Moving a mattress from one place to another can be a difficult task if you don’t have the right tools or don’t know how to properly secure it. This guide will explain how to put a mattress in a truck bed safely and securely. Step 1: Gather the Necessary Supplies
Before you begin, you’ll need to gather some supplies that will help secure the mattress in the truck bed.